Understanding plant life cycles is a fundamental aspect of elementary science education. Not only does it foster curiosity about the natural world, but it also lays the groundwork for a deeper understanding of ecological systems. As an elementary teacher, you have the opportunity to spark this curiosity and instill a love for learning about plants in your students. In this article we’ll explore various strategies and activities to help you effectively teach about plant life cycles in the classroom.
Start with the Basic Stages of the Plant Life Cycle
Before you dive into talking about plants, it is a good idea to make sure the students know the names of the plant parts and how they reproduce. How detailed you need to go depends upon your grade level.
- Seed Stage: Everything starts with a seed. Seeds come in different shapes, sizes, and colors. They contain a baby plant inside, along with food to help it grow. When a seed gets water, warmth, and sunlight, it starts to germinate, which means the baby plant inside starts to grow roots.
- Germination: Germination is like a wake-up call for the seed. It’s the moment when the seed starts to sprout. First, a tiny root called the radicle pushes out from the seed into the soil to anchor the plant. Then, a shoot grows upward, seeking the sunlight. This shoot will become the stem and leaves of the plant.
- Seedling Stage: Once the shoot emerges from the soil, it becomes a seedling. The seedling continues to grow, developing leaves that help it soak up sunlight. At this stage, the plant relies on the energy stored in the seed for nourishment.
- Mature Plant Stage: As the plant grows, it enters the mature plant stage. It develops more leaves, stems, and branches. Some plants also produce flowers at this stage. Flowers are like nature’s way of inviting bees, butterflies, and other insects to help with pollination.
- Pollination: Pollination is a crucial step in the plant life cycle. It’s when pollen from the male part of the flower (called the stamen) moves to the female part (called the pistil). This can happen with the help of wind, insects, birds, or even animals. After successful pollination, the flower starts to change.
- Fruit and Seed Formation: After pollination, the fertilized flower transforms into a fruit. Inside the fruit are seeds, each containing the genetic information needed to grow a new plant. When animals eat the fruit, they often spread the seeds to new places, helping the plant reproduce.
- Reproduction: Finally, the cycle repeats itself as the seeds fall to the ground and germinate, starting the process all over again.
📽This video from Generation Genius is a great introduction or review.
https://the-literacy-garden.kit.com/42e788a06f
Dissecting a Seed
Kids love hands-on science. This easy-to-do dissection of a lima bean is perfect for elementary students. All you need is a bag of dry lima beans, paper towels, and a bowl of water.
Before class, soak the dry beans in a bowl of water. Give each student a paper towel, a bean, and a lab sheet like this. As the students gently separate the parts, they can glue them to the paper.
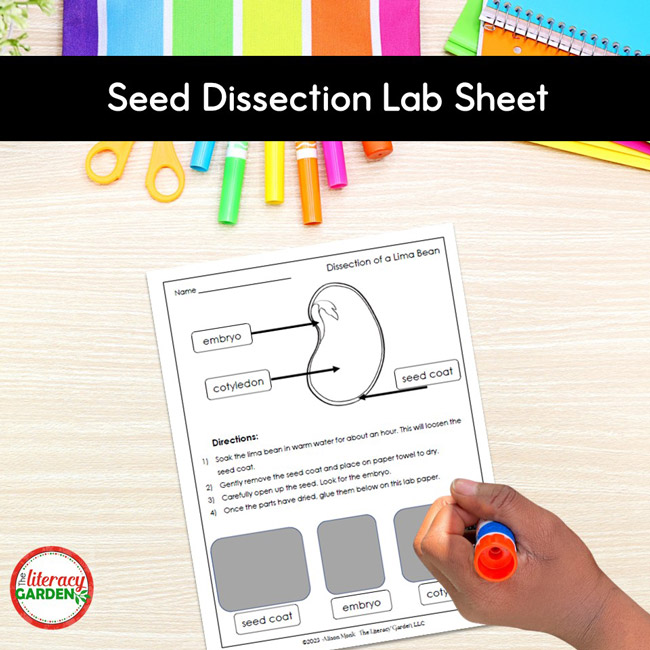
Grab this student recording sheet here
Watch Sprout Seeds
Here is a way for your students to observe plant life cycle stages of without using soil.
Materials
- Clear Plastic Cups – An alternative is Mason Jars
- Paper Towels
- Dried Lima Beans
- Water
Instructions:
- Fold a damp paper towel into a rectangle. Line the inside of the cup with the paper towel.
- Add a crumpled paper towel in the center of the cup to hold it in place.
- Place 3 dried beans between the side of the cup and the paper towel.
- Gently add some more water to the cup until the middle is saturated.
- Place the cups near a windowsill.
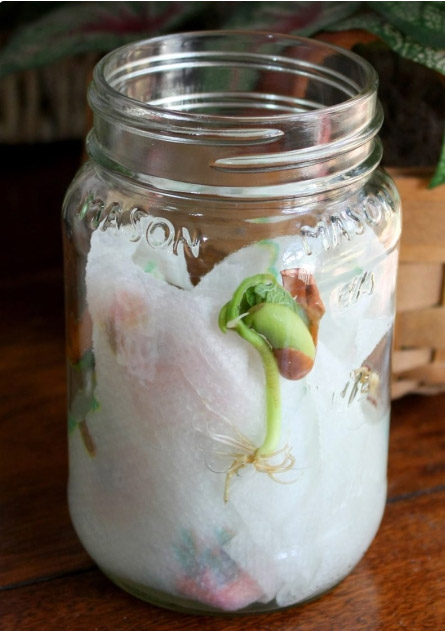
In a few days, the students will notice the seed coat wrinkling. Then the root will start to grow. Keep the paper towels moist.
You can have the students keep a plant observation journal. Encourage them to draw and write about the changes in their planted seeds. This practice not only reinforces scientific observation skills but also fosters a sense of ownership and responsibility for their plants.
Parts of a Flower
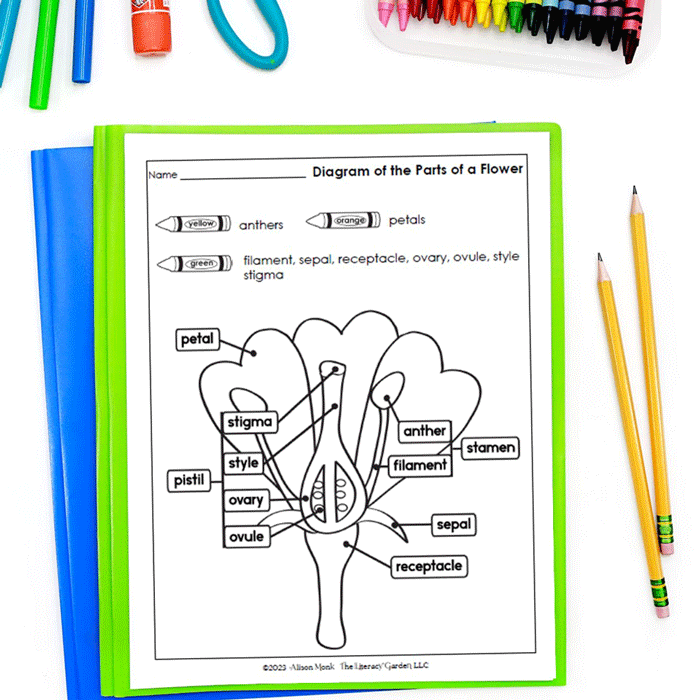
One of the best flowers to use to show the structure of a flower is a lily. If possible, I recommend bringing a real lily to class. Not only are they beautiful, but it is very easy to identify the stigma, anthers, and stamen.
Then you can follow up the experience with photographs or a diagram of a flower.
Follow up with a labeling worksheet like this. I made one for you here.
Which Plant Parts Do You Eat?
Another fun activity to start off your unit is having the children think about which plant part they eat when having a meal.

Cross-Pollination Simulation
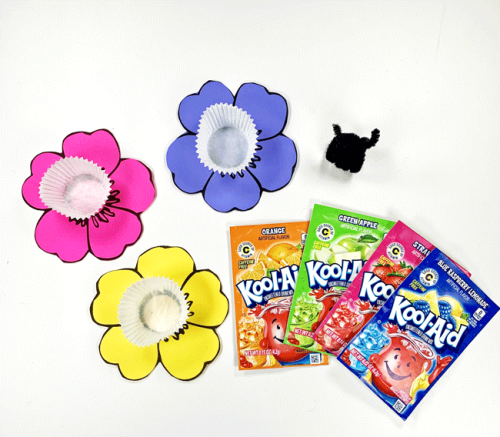
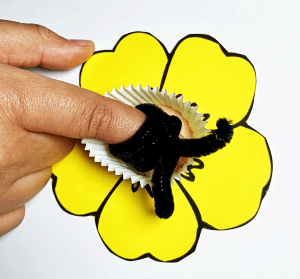
A fun and effective way to help children understand how pollen is transferred from one flower to another is with a simulation like this. Using simple materials like pipe cleaners and colored powders, students act like bees and gather “pollen”.
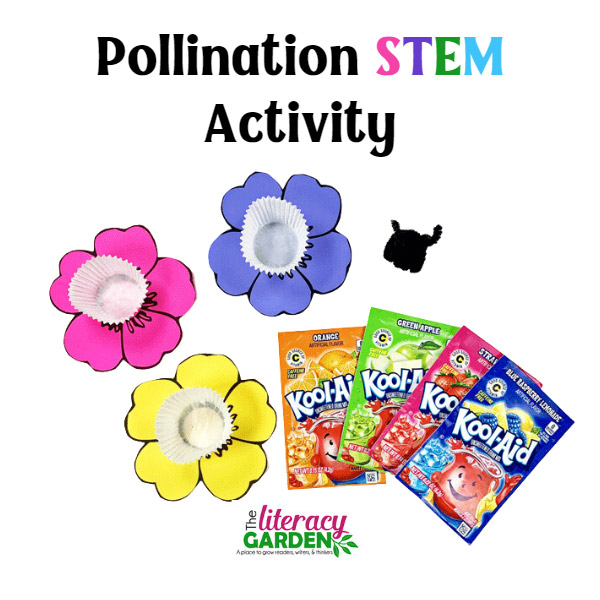
Check out this post to see how I did it!
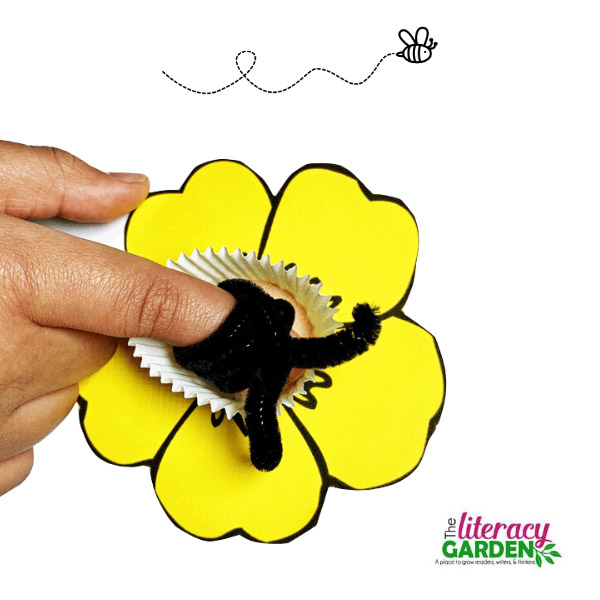
I have all the directions to do this with your class.
Wisconsin Fast Plants
You don’t need a garden, or a long growing season to observe the entire life cycle of a flowering plant. These Fast Plants® will sprout, flower, and produce seeds in 6 weeks.
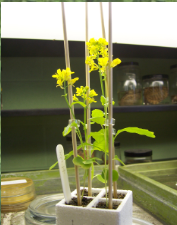
Carolina Biological offers a complete growing kit and instruction manual. It even comes with dried bees so the students can pollinate the flowers!
At the end of the growth cycle, my students harvested the seeds so I could use them next year!
You will need to use a grow light for the plants to receive light 24 hours a day.
Cross-Curricular Connections:
Integrate plant life cycle lessons with other subject areas to reinforce learning and make connections across the curriculum. For example, students can write descriptive narratives about the life cycle of a plant, create artwork inspired by plant growth, or use mathematical concepts of measurement.
Conclusion:
Teaching about plant life cycles offers a rich opportunity to engage elementary students in hands-on, inquiry-based learning experiences that foster curiosity, critical thinking, and a deeper appreciation for the natural world. By employing a variety of strategies and resources, you can create a dynamic and meaningful learning environment where students can explore, discover, and grow as budding scientists.
Other Things to Help You :
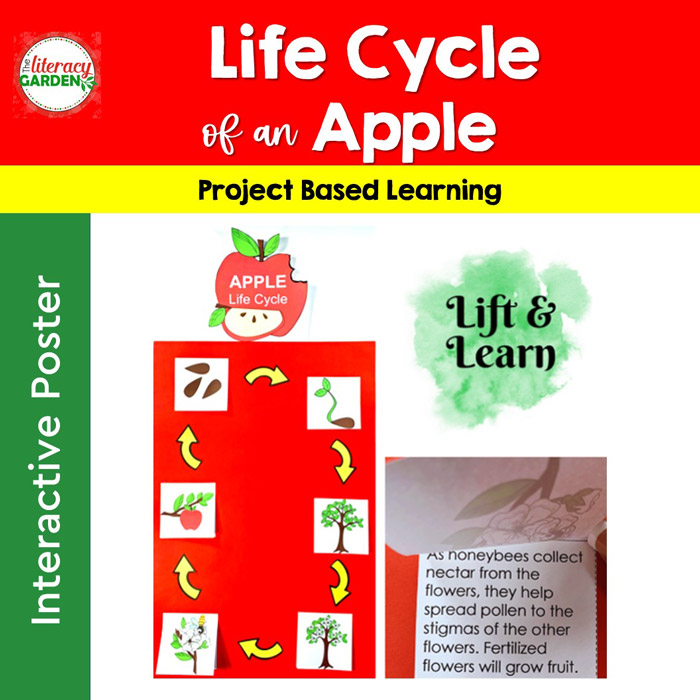
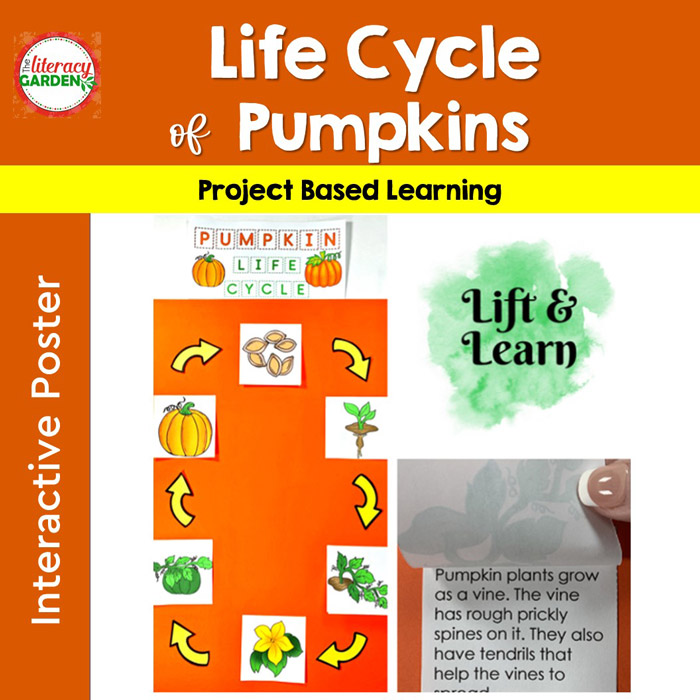
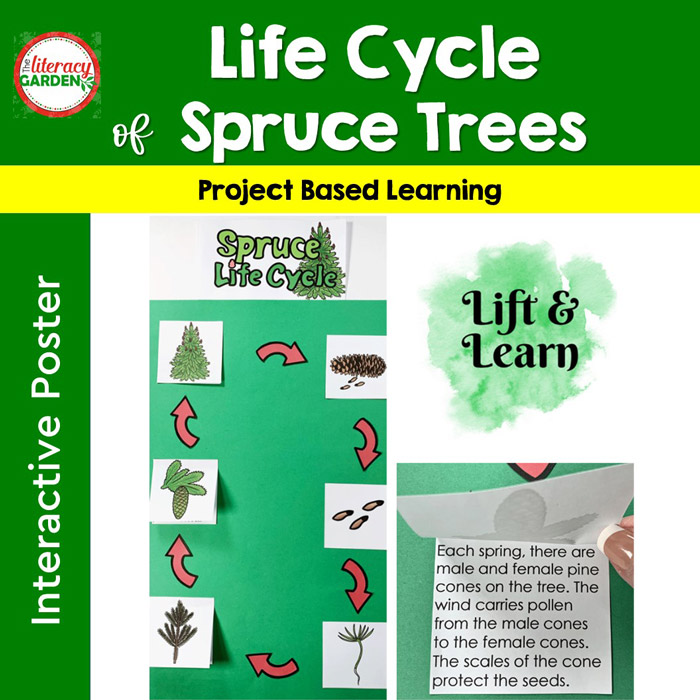
These plant life cycle interactive posters are easy and informative. You can differentiate the process and product for your students. Click on the pictures to learn more.






No Comments